


Description
It is important to keep track of your engine run time, particularly between rebuilds and servicing. The Kartech Digital hour meter accurately monitors individual runs as well as total engine run time. Simple to fit and ready to go in minutes!
Suits both 2-stroke and 4-stroke engines.
INSTRUCTIONS FOR USE:
'TOTAL' mode:
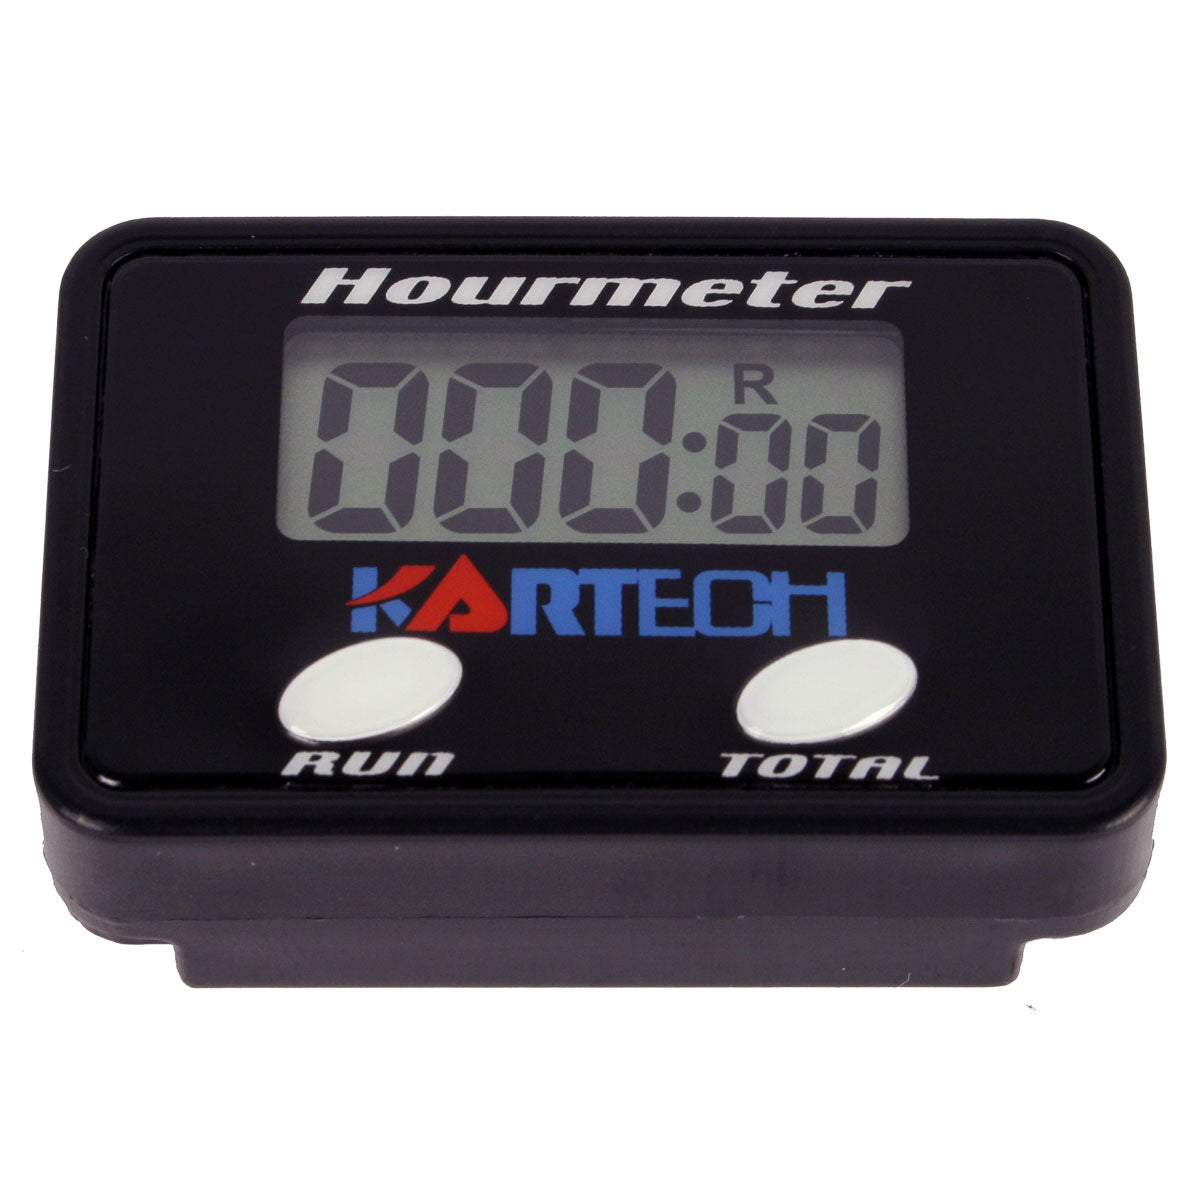
Pressing the 'TOTAL' button gives the total amount of running time from the moment the Kartech Hourmeter is fitted. The 'T' at the top right side of the screen (circled) indicates the Kartech Hourmeter is in total running time mode. This function is not resettable.
'RUN' mode:
Pressing the "Run" button gives an individual running time record between resetting the Kartech Hourmeter. The 'R' at the top right side of the screen (circled) indicates the Kartech Hourmeter is in individual run time mode.
To re-set this function, push both 'RUN' and TOTAL' buttons down together and hold for 5 seconds.
NOTES: The Hourmeter display turns itself off automatically approximately 10 seconds after a button
is pressed and released.
The CR2032 battery fitted in your Kartech Hourmeter offers approx. 5,000 continuous hours working life. If you remove the battery from the hourmeter you will lose all data history.
MOUNTING THE HOURMETER:
The Hourmeter can be either mounted directly to the spark plug lead or remotely using the antenna lead provided.
To mount the Kartech Hourmeter directly to the spark plug lead:
1) Select a point on the spark plug lead which is as far away as possible from engine heat and vibration or other heat and vibration sources such as the exhaust. Hold the Kartech Hourmeter on the spark plug lead so that the lead runs down the length of the channel moulded into the back of the Hourmeter's casing.
Using the two holes that pass under the spark plug lead channel at each end of the Hourmeter's casing, use the two cable ties provided to attach the Kartech Hourmeter securely to the spark plug lead (as shown in diagram 1). Be very careful not to overtighten cable ties.
To mount the Kartech Hourmeter remotely:
1) Locate the arrow moulded at one end of the back of the hourmeter casing. Using the hole next to this arrow, pass the end of the antenna lead from bottom to top through the hole in the direction of the arrow. Allow 10mm of the antenna lead to protrude through then bend this 10mm piece back to prevent the antenna lead from dropping out of the Hourmeter.
2) Using the self-adhesive Velcro strip provided, peel back one side and stick to the back of the Hourmeter (where indicated by dashed line in diagram 2). Peel back the other side and stick to the surface where you wish to mount the Hourmeter.
3) Attach the free end of the antenna lead directly to the spark plug lead, winding it around the spark plug lead at least 5 times and securing with cable ties provided (diagram 2a). Ensure the lead does not contact hot engine parts or interfere with the operation of the vehicle in any way. Trim off excess